How to Deploy a Streamlit App with Heroku

Streamlit is an open-source, free, and easy-to-learn Python framework that allows you to generate dashboards or interactive websites for data science, machine learning, or data visualization projects.
Generating an app with Streamlit only requires basic knowledge of Python. No front-end experience is required. A developer needs only some simple libraries used with Python to get started with Streamlit. In my opinion, this is a tool that all data scientists or data engineers should use. There are various tutorials on generating Streamlit dashboards (please feel free to check streamlit.io for their documentation).
However, once the dashboard is developed, you will probably want to share it with others so that they can utilize it, test it or give you suggestions for improvement. You might be developing a dashboard to analyze some data that your company uses, and you want everyone else to have access to it without the need to install python or run scripts on their computers.
To address this problem, I want to explain how to deploy a Streamlit program to the cloud using Heroku. Heroku is a platform as a service (PaaS) allowing one to run applications in various languages on the cloud.
I will explain the process in 5 simple steps explained as follows:
- Creating an example Streamlit application
- Generating other required files
- Creating a git repository and a Heroku account
- Deploying, testing, and renaming the app
- Making changes to the deployed app
Step 1: Creating an example Streamlit application
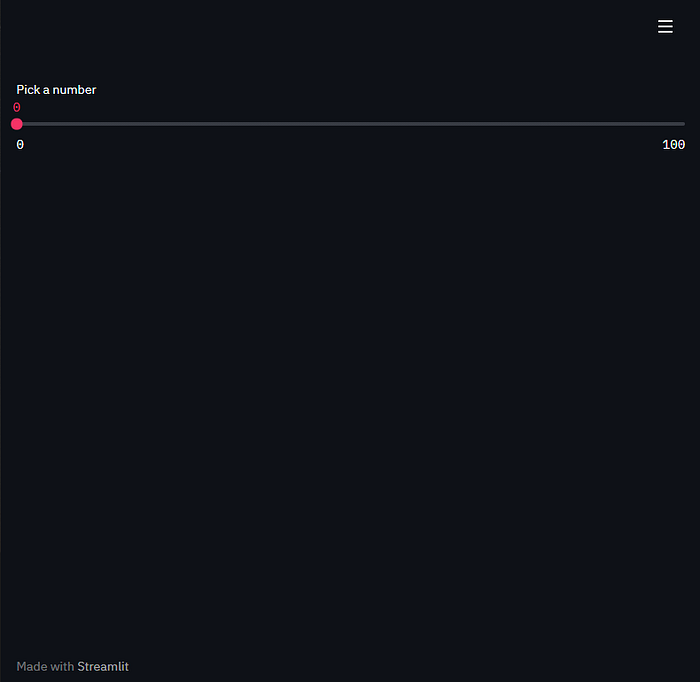
Using your favorite editor, create an app.py file that includes the below code. This is a straightforward slider example with Streamlit. Regardless of the complication of your Streamlit app, the process of deployment to Heroku is the same. Let’s put this app.py file into a directory called Streamlit_app.
Step 2: Generating other required files
There are several files required to be able to deploy the Streamlit app to Heroku. The first one is requirements.txt. Enter the following command to enter the directory where you placed the app.py file.
$ cd Streamlit_appMake sure that Streamlit is installed by running the following command
$ pip install streamlitTest locally to see if your app is working.
$ streamlit run app.py
If all the libraries are installed correctly, and there are no bugs in the program, a new window should open in the browser. For the example program in my browser, the app looks as follows:
Requirements.txt
Once the app is verified, run the following command to generate the requirements.txt file. This can be done by using pipreqs (if pipreqs is not installed, install it using pip. See this link for conda installation.):
$ pip install pipreqs$ pipreqs /Users/serca/Streamlit_app
For Heroku to understand that this is a streamlit app, we need to create two more files in our directory, namely Procfile and setup.sh. These files are presented below:
Procfile
setup.sh
Step 3: Creating a git repository and a Heroku account
Once all 4 files are in the directory (app.py, requirements.txt, setup.sh, Procfile), it is time to deploy this on Heroku.
Let’s create a git repository by the following command in the directory.
$ git initNext, let’s go to Heroku.com and create an account. This is free. Once the account is created, click this link to download Heroku CLI. Once CLI is downloaded and installed, enter the following command in the terminal.
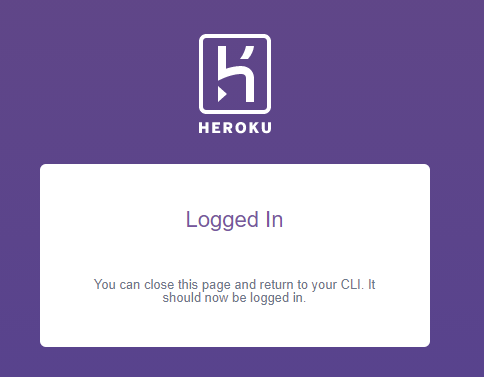
$ heroku loginYou should see a new screen asking for the login credentials. Once you logged in, you can close this screen.
Step 4: Deploying, testing, and renaming the app
Now that pip is initiated, and Heroku CLI is installed, we are only missing a few steps to build and deploy our app. For this, enter the following commands (for more details, please visit this link):
$ git add .
$ git commit -m “My first commit”
$ heroku create
$ git remote -v
$ git push heroku master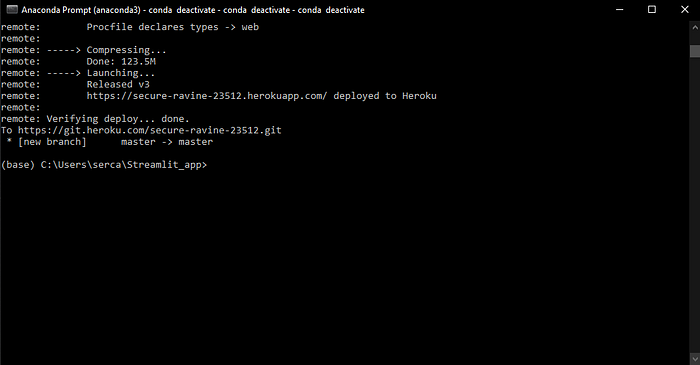
Heroku will automatically create and assign a random name to the application. For this example, the link to access the dashboard is secure-ravine-23512.herokuapp.com.
To rename the app to “newname”, run the heroku apps:rename command from your app’s Git repository:
$ heroku apps:rename newnameNow you can access your app from newname.herokuapp.com
Step 5: Making changes to the deployed app
Once the app is deployed, one might want to perform some improvements or changes in the program. This process is very straightforward. First, log in to Heroku:
$ heroku loginClone the repository
Use Git to clone the program’s source code to your local machine (assuming the app’s name is newname).
$ heroku git:clone -a newname
$ cd newname
Deploy your changes
Make some changes to the code you just cloned and deploy them to Heroku using Git.
$ git add .
$ git commit -am "make it better"
$ git push heroku master
Now, when you go back to newname.herokuapp.com, you will see the changes reflected on your app.
Follow me on GitHub: https://github.com/sercangul
Follow me for more information on Python, statistics, and machine learning!

